


DIY Vinyl Cladding Panel Installation: Complete Guide 2025
The 2025 Guide is Complete
Transforming one’s home does not need to be expensive, nor does hiring professionals. If you’re interested in saving money, taking on a DIY project such as the DIY vinyl cladding panel installation would elevate energy efficiency, curb appeal, and economize budgeting. Whether starting from scratch or upgrading old siding, this guide will provide step-by-step directions, technical insights, and tool recommendations for both seasoned and novice DIYers.
Why Pick Vinyl Cladding for Your Next DIY Project?
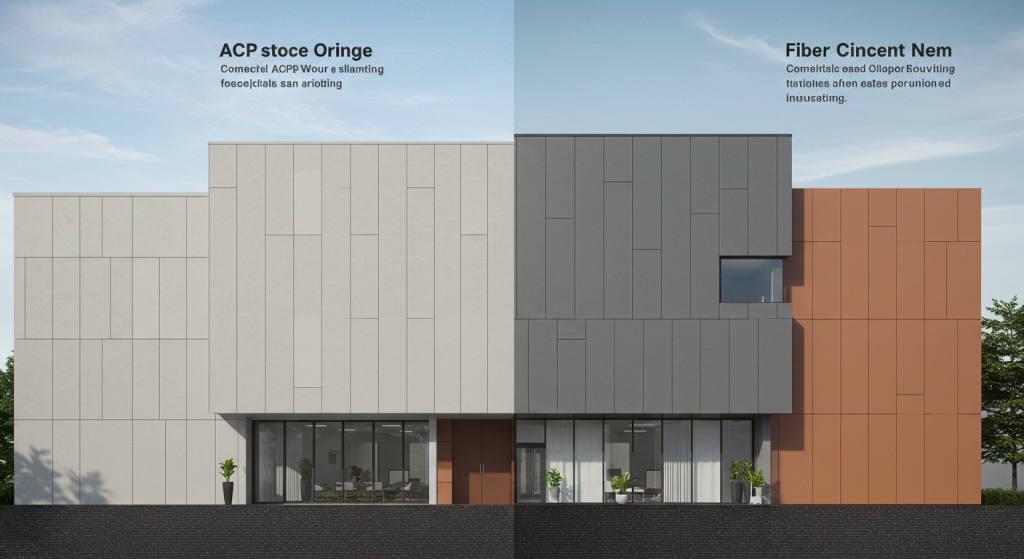
These panels are loved by more than just enthusiasts because they help with aesthetic appeal—they mesh an element of effectiveness with beauty that homemakers can appreciate. The lack of easy-to-access tradesmen solutions leads to people adopting a ‘ Do It Yourself’ strategy, with these vinyl cladding panels making them one of the go-to options on the market today.
Minimal Maintenance Required: They offer protection against tough weather conditions and pests, alongside having longevity, which wood often lacks. Vinyl does not require painting upkeep like wood. Simply rinsing the cladding with water is enough maintenance for it to shine once more.
Cost-Efficient: During budget checking windows, vinyl works best. Compared to fiberglass cement or aluminum claddings, refurbishing wooden planks for cheap comes easier alongside scaling economical renovations, which benefit housing greatly, simultaneously slicing price worries seamlessly.
DIY-Friendly: Vinyl’s panels are easy to slice, lightweight, and have slack fit mechanisms, which makes them simple to install. With some basic tools, even people with no prior experience can manage to do it themselves.
Long-Lasting: The protective vinyl cladding can last between twenty to forty years when properly installed and maintained. It is ideal for all climates since it does not fade, crack, or warp.
Stylish Options: If you want the appearance of wooden siding but do not want the hassle of maintaining it, faux wood textured siding is available in addition to modern finishes and a wider range of colors.
Tools & Materials Needed for Vinyl Cladding Installation
To achieve the best results with your DIY project on cladding, having pre-prepared materials alongside tools will ensure minimal interruptions during work due to a lack of resources.
Essential Vinyl Siding Tools:
- Tape Measure: To ensure measurement accuracy for walls and panels.
- Chalk Line: Marking straight, level lines for alignment becomes easier.
- Vinyl Siding Zip Tool: Panel locking and unlocking necessitate this tool using a zip tool.
- Utility Knife or Siding Cutter: For accurate trimming of panels used in segmenting vertical sections.
- Hammer or siding nail gun: Used for locking panels securely once fastened.
- Laser Level: Important for maintaining alignment in all lines.
- Drill and Screwdriver Bits: Used for the pilot holes and trim attachment.
- Safety Goggles and Gloves: Essential during cutting and nailing to prevent injury.
Step-by-Step DIY Installation Guide for Vinyl Cladding Panels
With sufficient planning, you can DIY vinyl cladding panel installation. Below is an organized guide that helps get you started right away.
1. Preparing the Surface of Walls and Inspection Readiness Procedures
• Clean and inspect the wall- take note if surfaces have dirt, moisture, mold, and wall damage, as these need to be addressed first before proceeding further.
• Remove pre-existing siding: Before proceeding with the installation of new siding, confirm whether it is permissible to add new layers and if the existing structure can support it.
• For sheathing, apply moisture barriers: Utilize materials that shield against water damage.
• Set markings for horizontal guidelines: Ensuring straight layouts involves using a chalk line in conjunction with levels.
2-Installing the Starter Strip
• Place starter strips horizontally at the base of wall structures.
• Maintain level positioning; a tilted starter strip affects all subsequent adjustments.
3. Corner Posts and J-Channels
• Place corner trims perpendicular to the side boundaries of walls.
• Use J channels around doors and windows so that they are framed in a manner that provides sealing while looking neatly finished.
4. Initiate Panel Installation Work
• Adhere to bottom-up panel placements.
• Ensure every panel clicks into its starter strip not loosely but firmly enough.
• Secure each nail within the nailing slot’s center—avoid excessive tightening.
• Provide 1/32 inch gaps on either side of panels placed for moving room during shift due to heating conditions.
5. Fitting Panels around Doors and Windows
• Execute accurate measurement followed by trimming for the exact fitting of panels
• Shapes can be cleanly cut with a utility knife or drill.
• Check alignment before securing and sealing all edges with J channels.
6. Final Adjustments
• Top trim sections can be placed just below the eaves or near the roofline.
• All panels must be inspected for security and proper lock alignment
• The worksite must be tidied up, and all scraps disposed of correctly.
Most Common Mistakes When Cladding with Vinyl
Over Nailing (Remember to not nail, as this will cause expansion buckling)
Skipping house wrap (This will result in moisture problems)
Starter strips (This will result in crooked panels)
Expansion gaps (Forgetting these will lead to issues)
Advantages of Installing Vinyl Cladding Panels
There are numerous advantages when vinyl cladding panel installation yourself, the most notable being financial savings. Here’s what homeowners appreciate about it:
Sense of Accomplishment:
Taking on an improvement project boosts confidence and is rewarding. The fulfillment of your work coming to fruition makes the effort worthwhile.
Savings:
Professional siding installation involves expensive labor fees, especially when charged. With DIY projects, you only need to pay for materials and tools, greatly reducing costs.
Custom Design:
DIY enables you to select the color, texture, and panel style of your choice. Be it modern minimalism or rustic charm, the design is up to you.
Energy Efficiency:
Insulation underneath vinyl panels aids in controlling the indoor climate. This may lead to lower heating and cooling expenses over time.
Low Maintenance:
Once fitted, cladding made from vinyl needs little attention. Regular washing with soap and water once or twice annually keeps it looking fresh.
Tips to Ensure the Successful Installation of Clad Panels in Vinyl
• Pick a firmer when outdoors is dry and warm (optimal range 50°F to 80°F).
• Always ensures optimal cut of every segment twice prior.
• For safety purposes, observe proper measures, especially while on ladders.
• Look for guidance/tutorial videos or speak with an expert at your local hardware shop.
Conclusion:
The do-it-yourself (DIY) approach to vinyl cladding panel installation offers a chic and practical remedy for revitalizing your home’s exterior or replacing aging siding. With the appropriate tools and preparation, alongside one of our expert guides, you can modernize your home’s look and achieve a transformation that stands the test of time. Remember to check out our collection of PVC panels and faux wood panels for seamless additions that are high-quality as well as simple to install.


