


How to Install Domestic PVC Wall Panels Step-By-Step: Guide
What are PVC Wall Panels?
PVC (Polyvinyl Chloride) Wall Panels are decorative sheets used for covering ceilings and walls. Mold-resistant light in lightweight and waterproof walls makes these ideal for use in residential places as well as commercial interiors. Also offered in different types, such as Tongue & groove style available in interlocking panels and other decorative finishes, which help transform places with ease. This article explains how to install domestic PVC wall panels step by step.
Advantages of Installing PVC Wall Covers
- Waterproof & Moisture Barrier
An evident benefit of using PVC wall panels is their waterproof property. If you are putting them in a steamy washroom or a kitchen that is splash-prone, these panels endure moisture very well. Unlike traditional tiles and paints, they do not absorb moisture, which further reduces the chances of mold, mildew, or even water damage.
- Simplified Cleaning Procedures
Cleaning procedures for PVC panels are effortless due to their gentle appearance. As a result of having smooth and non-porous surfaces, dust, grime, and other unsightly marks can be effortlessly removed with soap and water. Maintenance does not have grout lines that need scrubbing, making it hassle-free.
- Tough and Timeless
Because they are made from custom high-plastic composites, PVC panels are tough and able to withstand impacts. They will not chip, crack, or lose color even in high humidity surroundings neutralized over time with management over extended periods, allowing them to last more than a decade easily.
- Fast Application
Due to now needing many tools, Interlocking becomes easy, as does application, leaving professionals and amateurs alike embracing PVC’s lightweight ease alongside speed during installation.
- Affordable
Unlike wooden panels or ceramic tiles pvc wall panels gives remarkable aesthetic publishing at an equally friendly low price surpassing competitive tile offers while retaining sophisticated stylish appearances without steep financial investment providing value unlike other market leading prices giving essential coverings without compromising quality required whenever sought most providing premium looks devoid claiming docking fees on top like other brands offering subpar materials disguised as true luxury.
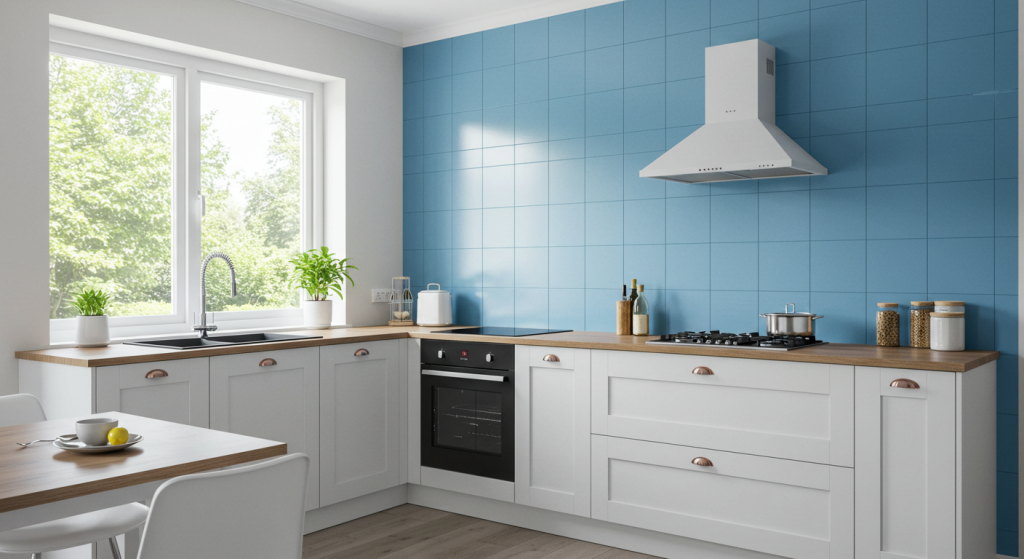
- Great for Use in Bathrooms, Kitchens, and Living Rooms
Their stylish finishes fit modern living areas, along with being suitable for wet zones since they are waterproof and low maintenance.
Materials and Tools Needed
Before we start with the installation guide of PVC wall panels, make sure you have these tools ready:
● Tape Measure
● Pencil or Marker
● Spirit Level
● Fine-Tooth Saw or Utility Knife
● Adhesive for PVC Panels (a high-grip polymer-based adhesive is recommended)
● PVC Panel Trim (edge trim, internal corner trim, external corner trim)
● Sealant (Silicone-based for waterproofing)
● Screws or panel pins (optional if installing on ceilings)
A Step-By-Step Guide to Installing PVC Wall Panels
Step 1: Clean the Walls Encase Screw Holes if Needed
- The wall surface is clean as well as dry, and leveled properly.
- You can place PVC panels over plasterboard, tiles, or painted walls.
- Fill any large holes with spackling paste.
- To create a level surface on uneven walls, consider using timber battens.
Tip: If the installation is in a kitchen or bathroom area, use mold-resistant primers.
- Design the layout with a focus on minimizing small panel cuts at corners.
- Place marks at the center and edges using a spirit level and pencil.
Step 2: Size Reduction of Panels
Best methods for cutting PVC wall panels: Keywords: utility knife, fine tooth saw, sharp seating knife.
- Cutting PVC wall panels requires sharp blades or utility knives.
- For clean edges, it is efficient to lightly score the surface of the panel and then snap it apart.
Step 3: Adhesive Application
ERP relation to adhesive products for PVC panels:
- PVC panel adhesives – apply in vertical stripes or zigzag patterns along the back of every designated panel section that needs sticking to the walls.
- Ensure to push firmly enough so that the panel sticks thoroughly across its entire contact surface with no air gaps- loose areas filled with air between two surfaces due to inadequate pressure applied during the attachment process to remove excess.
- Polymer-based waterproof fixatives are strongly required in bathrooms where excess moisture is common.
Step 4: First Panel Setup
- Do It Yourself - Setup keywords refer to catching slot-in-edge PVC cladding cutter jigs used for quick installations without heavy machinery needed other than simple hand tools available almost everywhere nowadays, regardless of whether they're good quality ones.
Step 5: Continue Paneling
- Ensure adhesive is applied on every new panel.
- Implement the tongue and groove method to interlock.
- Continue working sideways across the wall.
Tip: Maintain a small expansion gap of 2-3mm on both the top and bottom.
Step 6: Finish with Trims
- Apply edge trims to complete professionally.
- Apply external trims to corners as specified.
- In areas prone to moisture, joint seal silicone should be used.
Best Result Tips
Best Practice Instructions Results Increasing Productivity Effectiveness:
- Store them indoors before installation for 24 hours
Incorrectly stored PVC panels tend to warp. Ensuring storage in a dry indoor setting for flat placement during the prior 24 hours grants room temperature acclimatization, averting post-fitting bending or expansion issues.
- Installation prohibition below 10 degrees Celsius
Installations performed under cold conditions risk brittleness of new panels, resulting in fragility and cumbersome handling. Consider warmer weather days or maintain consistent temperatures through heaters while awaiting installation work.
- Sealant should be applied for all wet-area installations
In the case of bathrooms, kitchens, and laundry rooms, silicone sealant should be applied at joists and edges to avoid water stagnation behind panels. This helps safeguard against mold, mildew, and long-term water damage issues.
- Trims add value; do not skip them.
Edge trims, corner trims, and skirting serve more than a cosmetic function. They close off the exposed edges to limit moisture ingress while providing a neat appearance, which increases overall project professionalism.
Preservation and Hygiene
In contrast to other wall panel types, PVC wall panels have far greater maintenance ease owing to the simple installation process. Following some basic steps ensures that your panels stay fresh and continue functioning optimally for many years.
- Use a soft, damp cloth and mild soap.
For most day-to-day cleaning, the process is relatively simple. With a soft cloth, some warm water, and a little soap, you can wipe away dust, grease, and more without damaging any surfaces. This works remarkably well in places such as kitchens or bathrooms where splashes of water are common.
- Avoid abrasive cleaners
The PVC panel’s surfaces may be damaged or scratched by harsh chemicals (e.g., some bleach-based sprays) or abrasive scrubbing pads. These products should be avoided if you intend to maintain the glossy or matte texture of your PVC panels. Use non-abrasive pH-neutral cleaners instead.
- Reapply silicone if you notice any gaps over time.
Due to wall movements over time and shifts in moisture levels, very small gaps might form at joints or edges. A silicone sealant bead will need to be reapplied to waterproof them as well as prevent moisture from getting behind the walls and panels, especially in showers or utility rooms, which have high-humidity areas.
Conclusion
The clear economic benefits of fitting PVC wall panels in your home include easier maintenance and greater durability. The comprehensive guide to how to install domestic PVC wall panels step by step provided here will help both novices and experts achieve professional results. If you have the appropriate tools, some planning, and high-grade materials from HSCS Decor, then transforming your home's waterproof makeover is swift and stylish.


